1 (3).jpg

Nailed It: How to Throw a SWEET Mom's Night In

We're what....10 months into this pandemic? My social life is nonexistent, and I miss hanging out with my favorite girl gang from FIT4MOM Ann Arbor. The winter blahs are getting to me and it's time to have a memorable Mom's Night In to boost morale. Did someone say CAKE? Cake fixes all, right? Add a challenge, a prize, and some laughs; it's a recipe for a successful night.

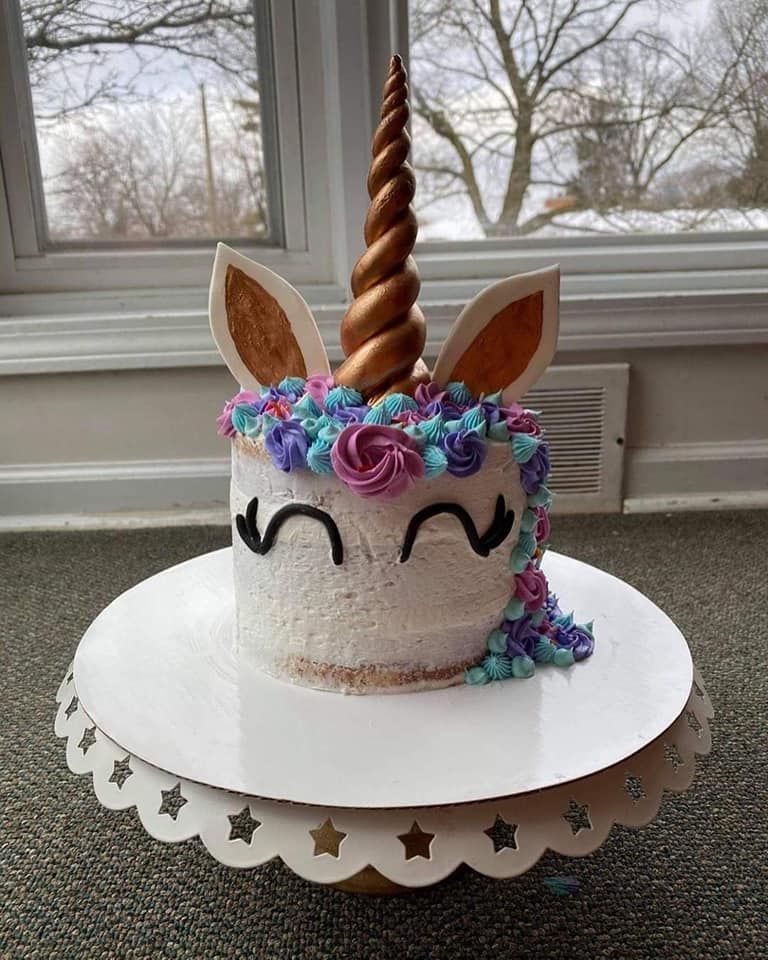
Let's back it up a bit. Unless you are living in another dimension or somehow have made it this long in your life without Netflix, you've at least heard of Nailed It! More likely, you've binged multiple seasons in one sitting as you muttered to yourself "I could do better than that". I know I have. I've always wanted to try it, but not on actual national television because this girl has a face for radio, let's be real. Hosting a cake decorating challenge was my goal in 2020 but then we know how that story ends. So here we are. 2021. New beginning. New challenges. New Mom's Night In. I've had a number of people ask me how we set it up so they could replicate the idea, and I'm here for that, so I figured I'd walk you through our process. The only thing I ask in return is photos of your successful night in with friends! Let's begin.

  • Please-Love-Me-Meme-Girl-Face.jpg

Step 1: Hype it up

Get your group together. Before you figure out supplies or even how intricate of a design you want to attempt, figure out who will be involved. This way if you are all splitting the costs, you'll have a better idea of budget since most decorations can be split into multiple people.

  • example.jpg

Step 2: Pick a Challenge

Now that you have your crew determined, pick something you can all attempt together. It's important to be aware of your group's skill level at this point. If everyone is like me and can barely color within the lines of their child's coloring book, then you can go simple. If they've been a home baker their whole lives and made their own wedding cake, think big. The harder the better. Actually, let's be real. In both situations, the harder the better! For our challenge, I wanted something easy enough that it was manageable in a short time (none of us have 5 hours to waste, even if it is for fun), but also open to interpretation. Plus, I was secretly hoping for lots of phallic horns that would make my mother blush. Our selection succeeded on both levels.

  • 138752945_205947704537328_5782976102967329383_n.jpg

Step 3: Make a shopping list

Figure out what could be helpful but not too easy for everyone to use to achieve their cake decorating goal. If you are doing this with people all over the place, send the completed shopping list out to everyone so they can pick up their own supplies. If it's local or you're going to do it in person, then figure out where you'll need to run to get everything. Don't forget to pick up packaging supplies like plastic bags, bins, saran wrap, etc.

You can also determine what people can use from home. Make sure it's kitchen staples that everyone would have. For ours, it was a butter knife, spoons, food dye, and bowls.

  • 139266140_159575388986428_5362468229392235104_n.jpg

Step 4: Go shopping

I ended up at a variety of stores for different items.

I went to the dollar store to pick up decorating supplies so everyone would have the same tools. I also grabbed lots of candies and sprinkles here.

I went to a big box grocery store for the decorating basics -- chocolate chips, marshmallows, cocoa, etc.

I hit up a specialty baking store for some premade fondant and more disposable piping bags (these can also be found at most big box stores).

Finally, and most importantly, I went to Sam's Club and bought a 35 pound tub of frosting, and chafing trays to hold the frosting and cakes. Sam's Club also sells cakes undecorated that you can buy in bulk so if you're not making the cakes as a group, I'd grab them here.

  • 139437056_2596069834017782_3607475685494609336_n 29.png

Lucky for us, Alicia at Sweats & Sweets Ann Arbor baked all our cakes so we got to enjoy something a little more delicious. Again, you can always include making the cake as part of your challenge, but if you're looking for a time saver, get them pre-made.

  • 139564736_3666046593494250_2391852496455606556_n.jpg

Step 5: Divide out the decorating ingredients

As someone who tries to avoid excessive packaging, this one hurt. I used so many plastic bags. If you want to avoid this kind of waste, make it an added challenge and toss all the ingredients into a glass jar or container and make everyone work for it. If you're having people shop for their own items, you get to skip this step. I'm jealous.

This turned out to be a labor of love. I used a kitchen scale to make sure I was supplying everyone with a similar amount of everything. More details on what I supplied at the end.

  • 20210115_141952 29.jpg

Step 6: Assemble the decorating kits

I gathered the pre-made cakes, split my tub of frosting 15 ways, and stuffed a plastic bag with all the decorations to give to each person. In our situation, each person got three cakes (one square and two round), 2.5 lbs of buttercreme frosting, their two decorating tools (a spatula and a piping bag with 4 tips), and SO MANY decorations. I waited until the day before the event to assemble the kits to ensure everything stayed fresh. I put saran wrap over the frosting that was put into a metal tray for ease of access so that it would not dry out.

  • 20210115_162429.jpg

Step 7: Hand out the kits

You can be awesome and run it to friends or you can be lazy like me and line them up on your front porch. Everyone stopped by my house in the 24 hours leading up to our challenge and grabbed their pre-made kits. It worked flawlessly, and I got to see many faces through my glass door that I've been missing these past 10 months.

  • Screenshot 2021-01-27 153658.jpg

Step 8: Host your event

This was the best part. Weeks of planning and preparation came down to 35 minutes via a Zoom meeting. It was WORTH IT! We had mini games leading up to our event to earn more time, earn help in a breakout room with our judges, freeze other contestants, and earn use of ingredients or utensils not included in our kits. We then gave everyone 35 minutes to make their attempt as we revealed the cake to them. Everyone had their camera on so we could see progress, and at the end of the 35 minutes, everyone submitted a photo via email. We then let each person explain their cakes while they shared their results to the group. Our panel of judges (Emily G. -- a former professional decorator, Alicia G. of Sweats & Sweets Ann Arbor, and me -- no credentials, but I hosted so I make the rules) then had a quick breakout room to discuss techniques and skills, and we crowned a winner. Anna D. won both from the judges and via our Facebook page as the fan favorite and received a gift card to Bakers Nook. She DID earn the extra 5 minutes in one of our mini games, but she also did an awesome job!

  • one 29.jpeg

So there you have it. I hope this helps you plan your own awesome Zoom challenge or maybe you're lucky enough to do it together in person! Don't forget to send me your results!

  • 139267226_475922130469970_3537595221134995038_n.jpg

Shopping List (Example)

In case you're looking for a detail of what I actually purchased for each kit to get your creative juices flowing, here's what I provided:

  • 3 cakes
  • 2.5 pounds of frosting
  • m&ms
  • Gumdrops
  • Fruit rings cereal
  • lollipops
  • ice cream cones
  • nilla wafers
  • chocolate chips
  • graham crackers
  • rice crispy treats
  • butterscotch chips
  • cocoa powder
  • white fondant
  • black fondant
  • sour candy rainbow strips (Airheads)
  • mini marshmallows
  • coconut flakes
  • regular marshmallows
  • rainbow sprinkles
  • packs of striped gum
  • brown sprinkles
  • straws
  • oreos
  • pixie stix
  • candy bracelets
  • disposable piping bags
  • a VERY cheap set of piping tips from Dollar Tree
  • a spatula

Packaging items:

  • full size chafing trays
  • Half size chafing trays
  • gallon plastic bags
  • sandwich bags
  • snack bags
  • plastic wrap
  • aluminum foil

Hope this helps. Happy planning!